Projected Video Sample
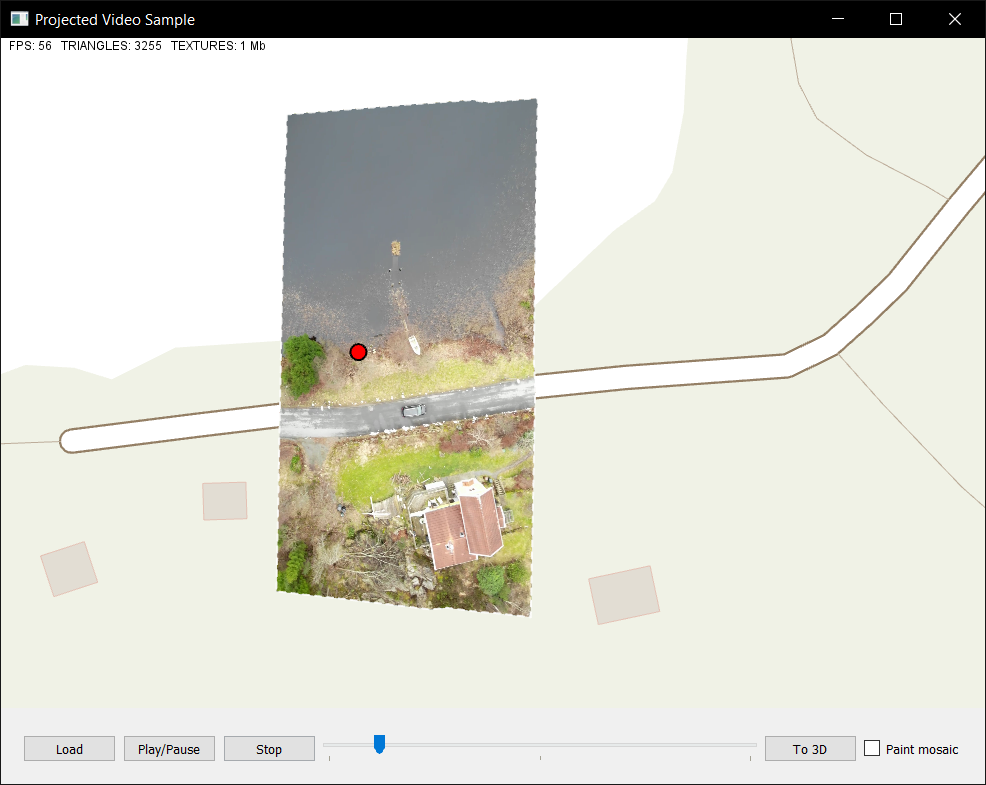
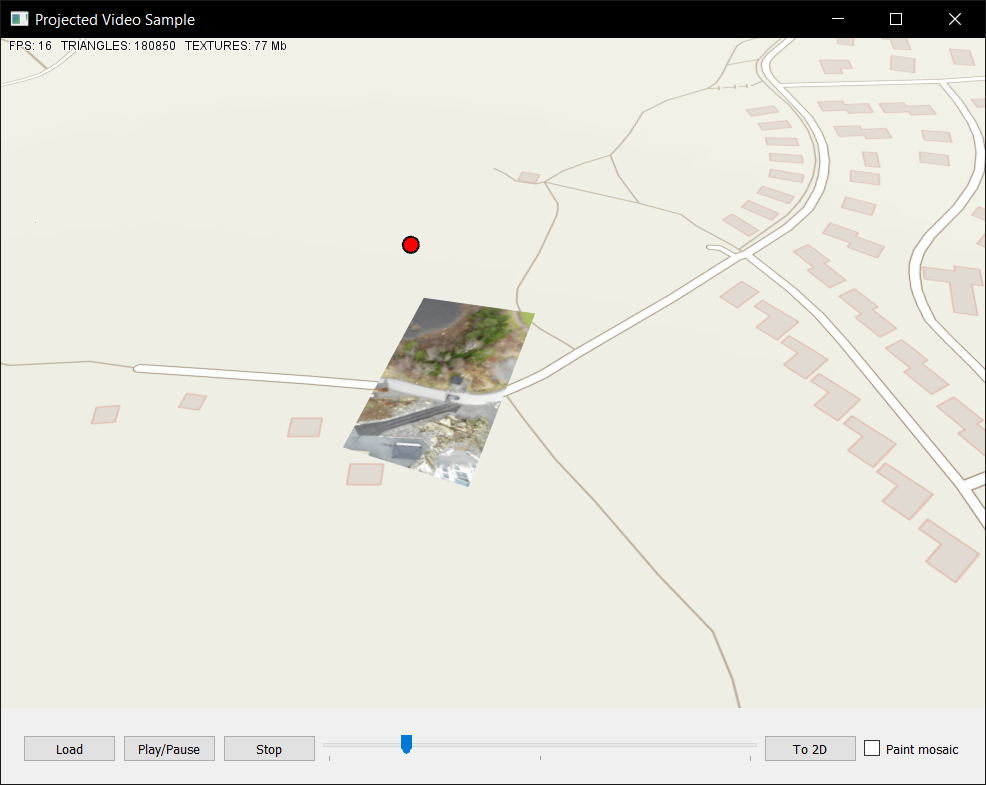
The CameraProjectOperator and CameraProjectOverlay can be used to project an image given a few camera parameters. While the operator can be used to show photographs, this sample shows that it is also possible to project a continuously updated video in Carmenta Engine. The provided video and associated DJI Flight Record log was created by a drone.
 |
The sample also includes an implementation of a subset of the MISB ST 0601.8 standard that is used in the STANAG 4609 standard for UAV metadata. If you have a video following this standard you can try and load it using the Load button.
 |
This is just a sample so there's no guarantee that your video will work properly. Should this be the case, you can debug both the video decoding and the metadata parsing to see what the problem is.
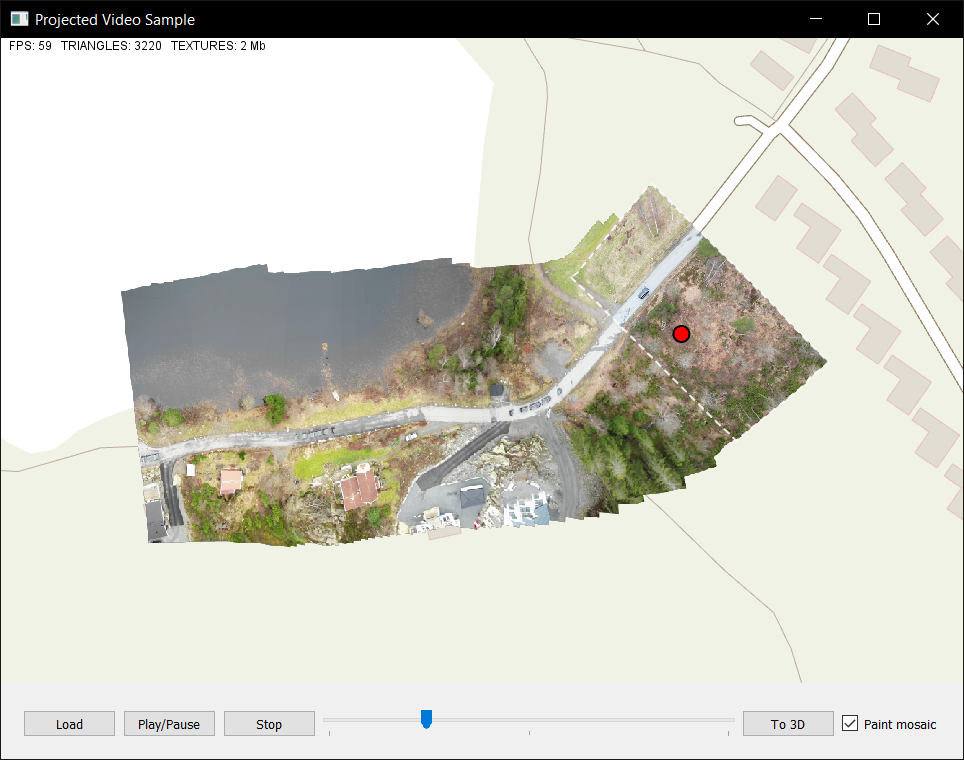
The sample is also able to save video frames into a GeoPackage using the MosaicWriter functionality that can be enabled by checking the "Paint Mosaic" checkbox. The MapPackageDataSet supports live updates by the MosaicWriter which allows for continous updates in 2d. The created GeoPackage is not shown in the sample for 3d because the caching does not support continously updating surface layers without distruptive loading. There is no limitation in displaying a completed mosaic GeoPackage in 3d, even if it is not part of this sample.
 |
Providing Elevation Data
When the video metadata has camera attributes rather than a pre-calculated footprint, the accuracy of the projected video depends on the quality of the elevation data. The sample is set up to use elevation data from the Carmenta Engine Samples Geodata 5.15. If you have higher resolution data available you can use the LevelOfDetailOperator in the PX-file to add it. For the sample video we have specified an area with the correct elevation for where the camera is filming, since the sample elevation data is of too low resolution. The operator is set up with LevelOfDetailOperator.FillArea enabled so that it uses the highest resolution data where it can and uses the sample elevation data for the rest of the area. You can add your own data either by adding a new LevelOfDetail or replacing the current ones.
Building the Sample
The sample can be built using Visual Studio or QtCreator by opening the samples CMakeLists.txt file. The sample uses FFmpeg or more specifically its "libav" libraries to read the video file. Due to licensing issues, FFmpeg can not be included in the distribution of Carmenta Engine, so you need to download it yourself. The source is needed for compiling the sample, and compiled binaries are needed to run the application.
Linux
To build and install FFmpeg for use on Linux distributions that do not include the required version of FFmpeg, do the following:
Download the latest version of FFmpeg from http://www.ffmpeg.org/download.html#build-linux
Run ./configure --enable-shared --enable-pic.
Run make.
As the superuser run: make install and ldconfig.
On Red Hat Enterprise Linux you might need to add the /usr/local/lib directory to the system library path before running ldconfig. It can be done by running echo /usr/local/lib > /etc/ld.so.conf.d/local.conf as the superuser.
Windows
First, compile or download a build of FFmpeg.
You may find links to FFmpeg builds for Windows on the FFmpeg website: https://ffmpeg.org/download.html. At the time of writing, the FFmpeg website links to https://www.gyan.dev/ffmpeg/builds/. The builds there are also available at https://github.com/GyanD/codexffmpeg.
The ProjectedVideo samples requires a shared-library build. It has been tested with ffmpeg-release-full-shared.7z version 7.1 from https://www.gyan.dev/ffmpeg/builds/.
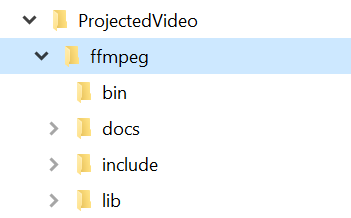
The project is set up to look for the FFmpeg libraries under the subfolder "ffmpeg" in the project folder. An empty folder with this name is provided when you unzip the sample. Place the files from the build in this folder. The result should look similar to the following image.
 |
The shared-library build of FFmpeg should contain DLL files under the bin folder. The following DLLs must be copied into the folder containing the executable of your program (Debug and Release, as appropriate):
avcodec-61.dll
avformat-61.dll
avutil-59.dll
swresample-5.dll
swscale-8.dll
When using another build than the one we have tested, these files may have different names. Use the appropriate files for your distribution.