GeoPackage Tutorial
This tutorial shows you how to use Carmenta Explorer to create an OGC GeoPackage that contains the same image, coverage and vector data as the Map Package that is used by the topographic_map_mappackage.px sample and that can be read by a MapPackageDataSet.
The sample map configuration, included in the Carmenta Engine SDK, uses the older Carmenta Engine Map Package format while this tutorial uses the standardized OGC GeoPackage format. See GeoPackage overview for more information.
Step 1 - Open a configuration to export data from
The data used by the topographic_map_mappackage.px sample has been generated through the topographic_map.px sample configuration.
Open the topographic_map.px sample configuration in Carmenta Explorer.
If you use your own configuration, know that the map packaging process replaces the background color with a transparent color. This affects layers that are blended with the background, which may cause differences compared to what the map looks like in Carmenta Explorer. If this happens with your own configuration, you can fill in the places where the background map is visible by defining a polygon or modifying the raster color table to draw the same color as the background for undefined values.
Step 2 - Adjust the area that will be exported
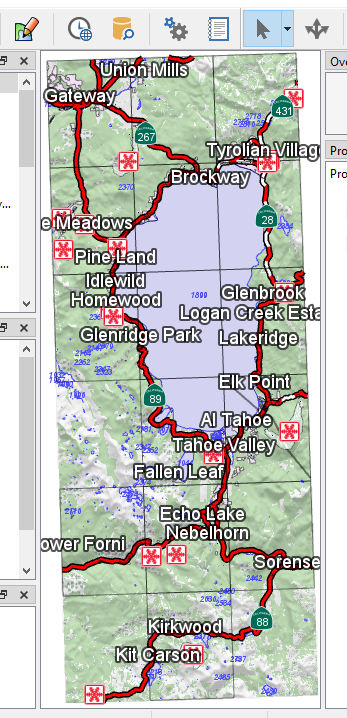
The first thing we want to do is adjust the area so that the entire Lake Tahoe surroundings will be exported. Zoom out and view the Lake Tahoe surroundings. You can either zoom manually or you can right-click on the view and select Zoom to Extent. It will look something like the image below.
 |
Step 3 - Configure the GeoPackage contents
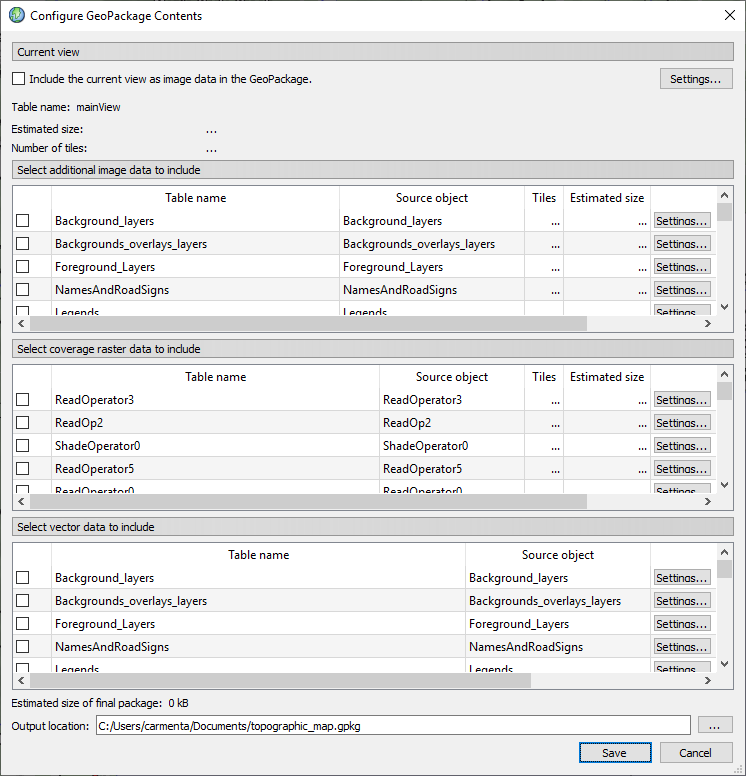
An OGC GeoPackage can contain image raster data, coverage raster data (for example elevation data) and vector data but since there is no way to automatically detect which data used in a configuration you want to export we must select the source objects in the configuration before exporting the data. This is done by selecting the layers in the lists shown in Carmenta Explorer.
Select File - Export to GeoPackage... to open the GeoPackage configuration form.
 |
Step 4 - Select the image data
Find the Aerial_photo_bw layer in the first list and select it.
 |
This indicates that images generated by the Aerial_photo_bw layer in the configuration will be exported to the GeoPackage. We leave the settings for this layer at their default values so the highest resolution images from the Aerial_photo_bw layer that will be exported are generated at the nominal scale 1:20000.
You will likely get a different amount of tiles and different estimated sizes than the ones that can be seen in the screenshots. This is because the size of the view and the zoom level affect the size of the final GeoPackage.
Step 5 - Select the coverage data
Find the ElevationBIL data set in the second list and select it.
 |
This indicates that coverage rasters generated by the ElevationBIL data set in the configuration will be exported to the GeoPackage.
Then click the  displayed
last in the ElevationBIL row to open the settings dialog for this data.
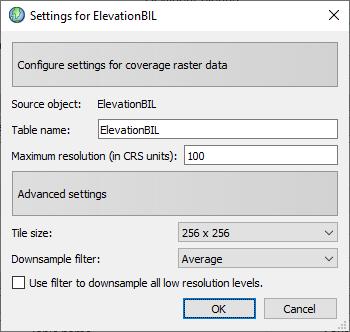 |
The maximum resolution will be set to 0, indicating that the highest resolution data the ElevationBIL dataset reads, namely 10 meters, will be used. You can change this, usually to a higher value (i.e. a lower resolution), to limit the size of the exported data. In this tutorial the default values are fine so click Cancel to close the settings dialog without making any changes.
Step 6 - Select the vector data
Find the PopulatedArea, Names_Parks_etc, Names_water and Names_spots layers in the third list and select them.
 |
It is important to note that even if the source object PopulatedArea is a layer the data that is exported is the vector data as it exists in the datasets under PopulatedArea and not the data after it has been processed by an operator leading into the PopulatedArea layer.
In this tutorial we do not have to modify any settings for the vector data but if you
click the  buttons and open the settings
dialog you will see that we can, among other things, specify which attributes are
exported.
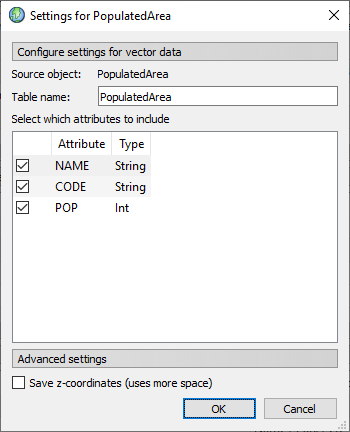 |
The default values are fine so click Cancel to close the settings dialog without making any changes.
Step 7 - Configure the current view settings
Next we want to change some of the default settings for how the current view will be exported. Make sure Include the current view as image data in the GeoPackage is checked. This will export the state of view as raster images.
 |
Click the  in the Current view section to open the settings dialog shown below.
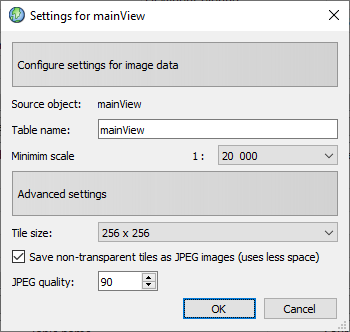 |
This dialog allows you to change the name of the data in the OGC GeoPackage (Carmenta Studio will display the available tables in a GeoPackage in a drop down list) as well as adding a description of the data but lets skip that for now. Instead, change the Minimum scale from 1:20000 to 1:10000. This sets the minimum scale of the exported image data generated by the current view to 1:10000 (which of course also increases the size of the final GeoPackage since it will contain more data).
The dialog also contains an Advanced settings section that we will leave unchanged in this tutorial.
The Tile size determines the size of each tile that is exported. The default value 256x256 works fine in most situations.
The Save non-transparent tiles as JPEG images option is checked by default and determines whether opaque tiles are exported in the JPEG format, which is a lossy compression format even if you set the JPEG Quality to 100. If this option is unchecked then all tiles will be saved as PNG images which is a lossless format and uses much more space than JPEG. A good estimate is that PNG images will take up around three times more space than JPEG images.
Tiles that are transparent, and this includes tiles that extend outside the area that is exported, will always be saved using the PNG format.
Click OK to accept the modified settings. Again, note that adjusting settings can change some of the size estimates displayed in the Configure GeoPackage Contents form.
Step 8 - Select an output location
At the bottom of the Configure GeoPackage Contents form you can specify an output location and name for the resulting gpkg file.
 |
By default the generated GeoPackage file is saved in the same directory as the map configuration used to export the data and has the same name except for the extension which is gpkg for GeoPackages.
For this tutorial you should change the output location to a directory where the GeoPackage can be saved.
As you may have noticed the Configure GeoPackage Contents form displays size estimates for individual sets of data as well as for the final GeoPackage. These estimates are unfortunately very inexact, for example the compression of a raster tile, whether image or coverage, can vary greatly depending on the contents of specific tiles. Also, when exporting vector data there is no way to calculate the correct size beforehand since we do not know how large the vector geometries are until they are exported. So take the estimates with a grain of salt.
Step 9 - Export the data
Finally click the Save button to begin exporting the data to a GeoPackage located in the directory specified in Step 8.
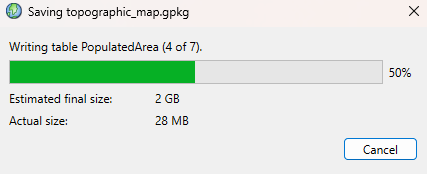 |
The operation can be canceled but the GeoPackage file that is left on disk in the output location can be in an inconsistent and unusable state.
After all data has been exported successfully the dialog is updated with the final resulting size of the package.
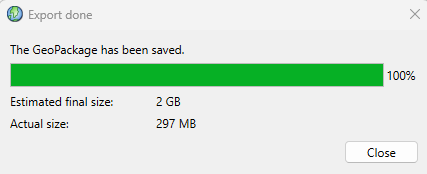 |
Click Close to close the dialog.
Step 10 - Preview the final GeoPackage with a map configuration
You have now generated an OGC GeoPackage that contains data surrounding Lake Tahoe but you still have to create a map configuration that reads data from the GeoPackage through one or more MapPackageDataSet instances.
To create a map configuration, you can modify a copy of the topographic_map_mappackage.px file , in Carmenta Studio, and change all the MapPackageDataSets to read from the newly created GeoPackage.
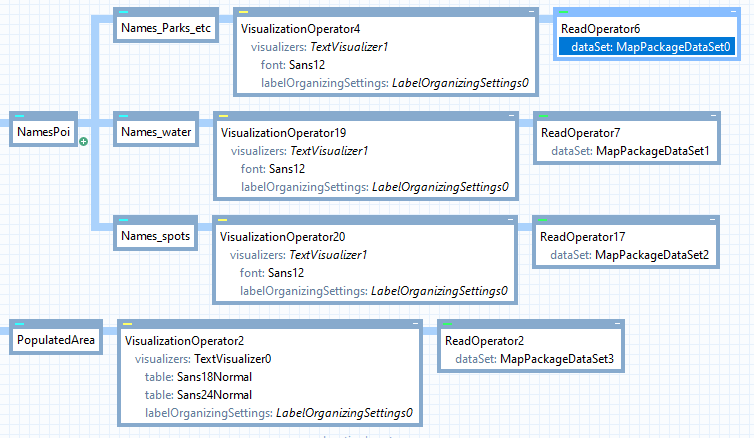 |
For the Names layers all the MapPackageQuery objects should be removed, and the MapPackageDataSet.TableName property should be changed to the corresponding table in the GeoPackage.
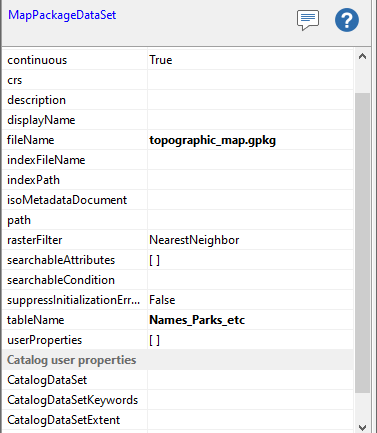 |
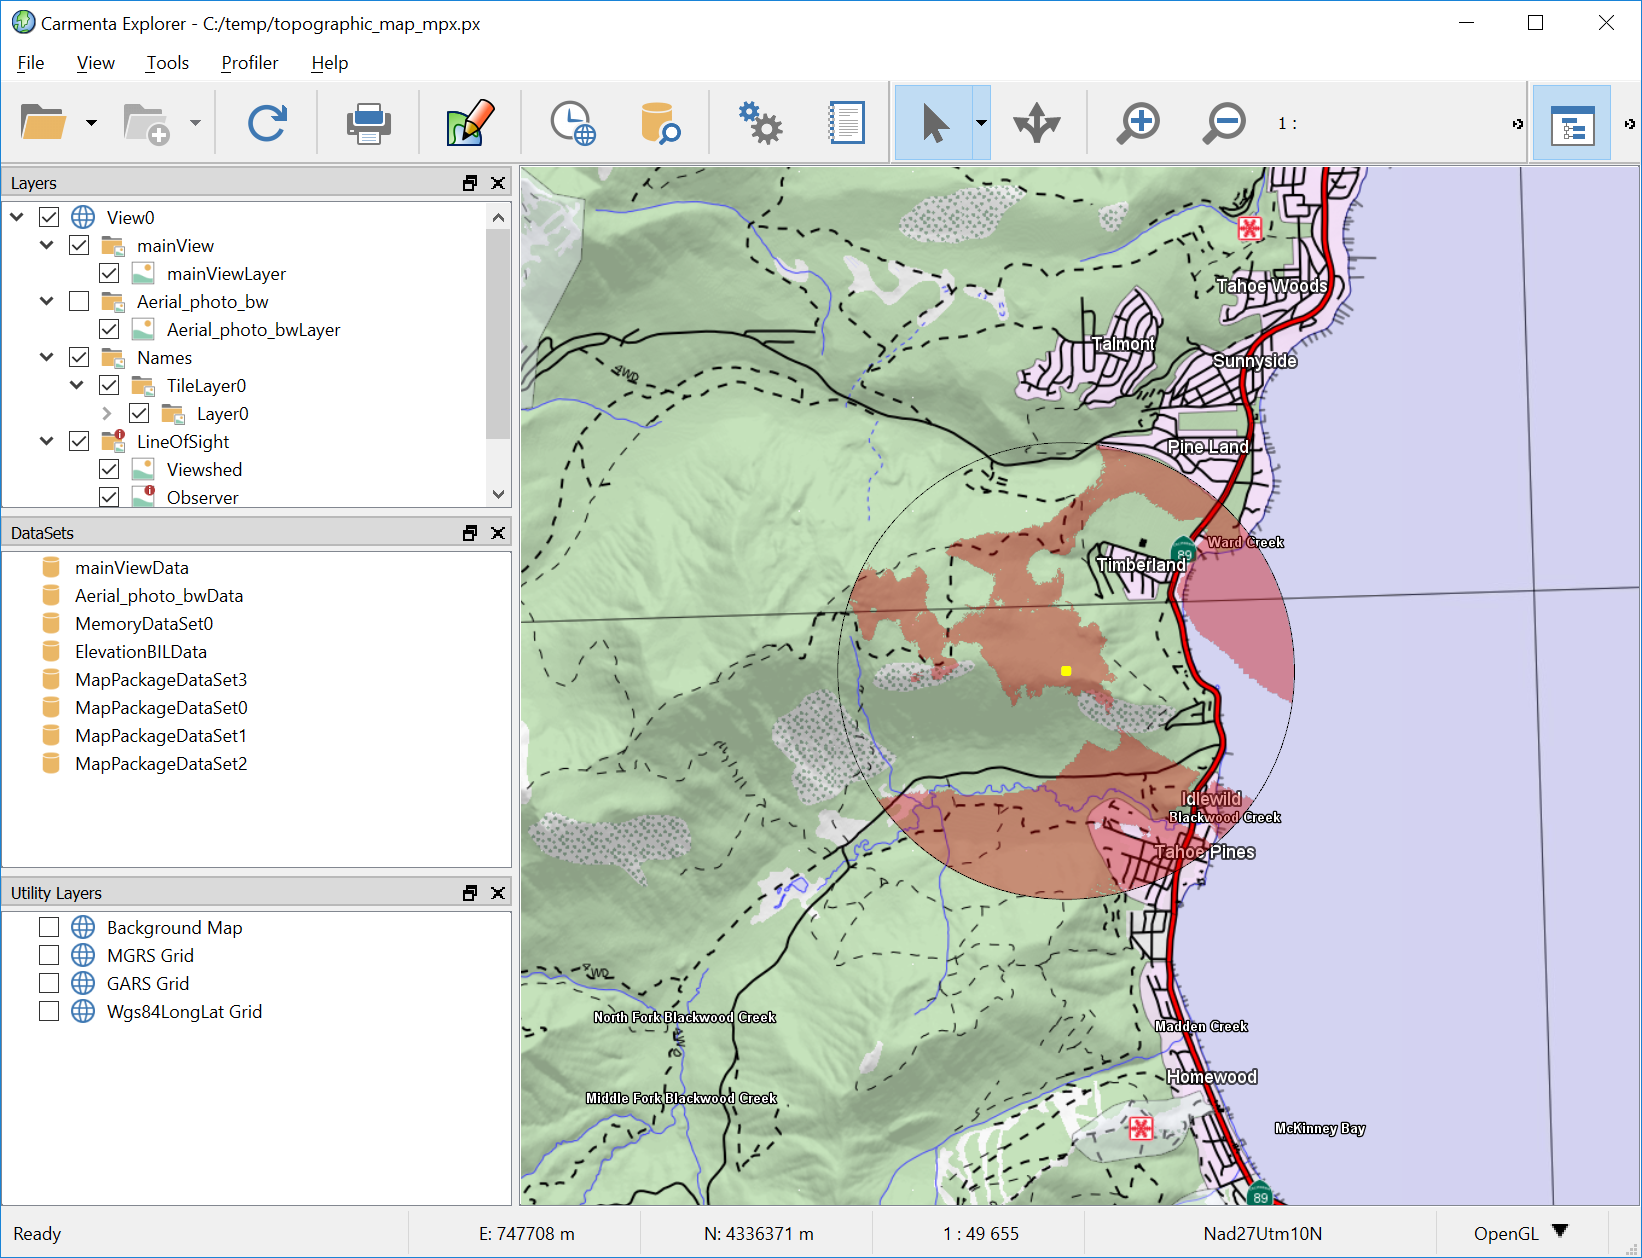
The image below shows data from the GeoPackage with the map configuration including a line of sight analysis layer that uses elevation data from the GeoPackage (we have only zoomed in a bit and moved the line of sight to the shore of Lake Tahoe).
 |